
Download “OpenCV-2.1.0-win.zip” and extract it to “C:\Program Files\OpenCV\OpenCV210”. This folder now should include subfolders like
- C:\Program Files\OpenCV\OpenCV210\3rdparty
- C:\Program Files\OpenCV\OpenCV210\apps
- C:\Program Files\OpenCV\OpenCV210\data
- C:\Program Files\OpenCV\OpenCV210\utils
- And also should include CmakeLists.txt, (C:\Program Files\OpenCV\OpenCV210\CmakeLists.txt)
Download “cmake-2.8.1-win32-x86.exe” and install Cmake GUI.
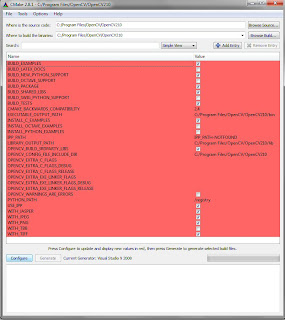
- Where is the source code? > C:\Program Files\OpenCV\OpenCV210\
- Where to build the binaries? > C:\Program Files\OpenCV\OpenCV210\
- Library files (C:\Program Files\OpenCV\OpenCV210\lib) and Binaries (C:\Program Files\OpenCV\OpenCV210\bin) are going to be put in corresponding folders.
- Click “Configure” for a second time and the red lines will turn white. Then click on “Generate”.
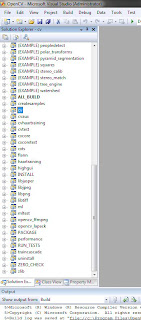
- “OpenCV.sln” will be put in C:\Program Files\OpenCV\OpenCV210\.

No comments:
Post a Comment